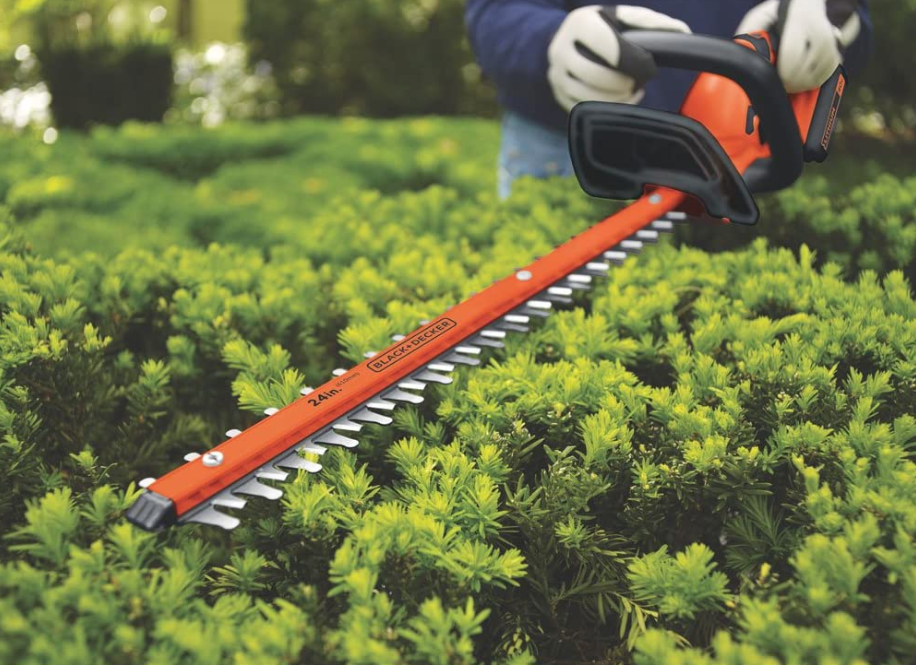
A well-maintained garden is a testament to careful craftsmanship, and the electric hedge trimmer is an indispensable tool for achieving precision and efficiency. Whether you’re a homeowner or a professional landscaper, understanding how to use this tool safely and effectively can transform your hedges from overgrown to impeccably manicured. This guide breaks down the process into expert-level steps, covering everything from tool selection to advanced trimming techniques.
1. Why Choose an Electric Hedge Trimmer?
Electric trimmers dominate residential and light commercial use for three key reasons:
- Accessibility & Affordability: Lower upfront cost than gas trimmers, with corded models offering unlimited runtime (ideal for small-to-medium yards) and cordless models providing mobility (20–60 minutes of run time, depending on battery capacity).
- Ease of Use: No engine maintenance (no fuel mixing, air filter cleaning, or spark plug changes). Simply plug in (corded) or charge (cordless) and start.
- Safety & Quiet Operation: Reduced vibration and noise (90–95 dB vs. 97–103 dB for gas trimmers), plus built-in safety features like trigger locks and automatic power cutoff.
Corded vs. Cordless: When to Choose Which?
| Type | Advantages | Best For | Limitations |
|---|---|---|---|
| Corded | Consistent power, no battery anxiety | Yards with accessible outlets, small plots | Limited mobility (risk of cutting the cord) |
| Cordless | Full freedom of movement, quiet | Medium yards, noise-sensitive areas | Lower power (suitable for green wood <1” diameter), battery recharge downtime |
2. Pre-Operation Preparation: Essential Steps
A. Safety First: PPE & Worksite Setup
- Personal Protective Equipment (PPE):
- Eye Protection: ANSI-rated safety goggles or face shields (to block flying debris and sap).
- Hearing Protection: Earmuffs (trimmers exceed 85 dB—OSHA’s 8-hour exposure limit).
- Hand Protection: Cut-resistant gloves (for grip and blade accident prevention).
- Footwear: Non-slip, closed-toe boots (avoid sandals or sneakers).
- Clothing: Tight-fitting long sleeves/pants (loose fabric risks entanglement).
- Worksite Safety:
- Weather Check: Never use in wet conditions (risk of electric shock—IPX4-rated trimmers may resist splashes but not immersion).
- Perimeter Securing: Use cones or rope to barricade a 10-foot safety zone around work area; keep children/pets indoors.
- Ground Stability: Work on level ground—avoid slopes or unstable surfaces.
B. Tool Inspection & Setup
- Corded Trimmers:
- Use a 3-prong, UL-certified extension cord (16-gauge or thicker, maximum 100 feet to prevent voltage drop).
- Install a Residual Current Device (RCD/GFCI) for ground fault protection.
- Cordless Trimmers:
- Charge batteries fully (use manufacturer-recommended chargers to avoid damage).
- Have a spare battery ready for large jobs (swap quickly to maintain workflow).
- Universal Checks:
- Test trigger lock: Ensure the blade stops immediately when released.
- Inspect blades for sharpness and alignment—dull blades cause ragged cuts (use a file or professional sharpening service).
- Lubricate moving parts (hinges, blade pivots) with silicone spray (check manufacturer manual for approved lubricants).
3. Step-by-Step Trimming Technique
A. Pre-Trimming Planning
- Assess Hedge Health: Remove dead/diseased branches with pruners before shaping—this improves airflow and prevents blade clogging.
- Define the Shape:
- Formal Hedges (Boxwood, Privet): Use a string line or level to mark vertical/horizontal cutting lines for symmetry.
- Informal Hedges (Escallonia, Lavender): Trim to maintain natural form, focusing on overgrown shoots.
- Timing: Trim evergreens after spring growth hardens (late summer); deciduous hedges after flowering (to preserve blooms).
B. Proper Grip & Posture
- Two-Handed Control: Hold the main handle with your dominant hand and the front auxiliary handle with your non-dominant hand—this stabilizes the tool and reduces arm strain.
- Blade Orientation: Keep blades parallel to the desired cut surface (horizontal for tops, vertical for sides).
- Body Positioning: Stand with feet shoulder-width apart, knees slightly bent for balance. Avoid overreaching—move your feet, not just your arms, to reach distant areas.
C. Cutting Techniques for Professional Results
- Base to Top (Vertical Sides):
- Start at the hedge’s base, moving the trimmer upward in smooth, overlapping strokes (3–4” per pass). Tilt the blade 5–10° outward at the base to create a trapezoidal shape (wider at the bottom to allow sunlight to lower branches).
- Side-to-Side (Horizontal Tops):
- For flat tops, glide the trimmer horizontally from one end to the other, maintaining a 1–2° slope to drain rainwater. For rounded tops, use arcing motions, starting 4” below the peak and curving the blade upward.
- Detail Work:
- Use the trimmer’s tip for precision cuts (e.g., shaping corners or removing stray shoots). For branches >¾” thick, switch to pruners to avoid overloading the motor.
D. Debris Management During Trimming
- Clear as You Go: Periodically stop to remove clogs from the blade teeth (use a stick or brush—never your fingers).
- Directional Cutting: Angle the trimmer outward as you cut to direct clippings away from your body and the hedge, improving visibility and reducing cleanup time.
4. Advanced Tips for Efficiency & Plant Health
- Speed Control: Use low speed for soft new growth and high speed for woody stems—this prevents the motor from stalling.
- Avoid Over-Trimming: Never remove more than ⅓ of the hedge’s foliage in one session to maintain photosynthetic capacity.
- Post-Trim Care:
- Clean the Hedge: Use a leaf blower to remove debris from the foliage (prevents mold growth).
- Fertilize & Water: Apply a slow-release fertilizer (N-P-K 10-10-10) and water deeply if trimming during dry periods to support regrowth.
5. Maintenance & Troubleshooting
A. Post-Use Maintenance
- Thorough Cleaning:
- Unplug/turn off the trimmer and remove the battery (cordless).
- Wipe blades with a cloth dipped in mineral oil to prevent rust (especially in humid climates).
- Use compressed air to clear debris from motor vents and housing crevices.
- Long-Term Care:
- Corded Trimmers: Inspect the power cord annually for frays; replace if damaged.
- Cordless Trimmers: Store batteries at 40–60% charge in a cool, dry place (avoid full discharge or extreme temperatures).
B. Common Issues & Solutions
| Problem | Cause | Solution |
|---|---|---|
| Blade won’t start | Loose cord connection, dead battery | Check plug/battery connection; recharge |
| Uneven cuts | Dull blades or inconsistent pressure | Sharpen blades; maintain steady hand pressure |
| Motor overheats | Continuous high-speed use, clogged vents | Let cool for 15 minutes; clean vents |
| Cordless trimmer stalls | Low battery, thick branches | Swap to a charged battery; prune thick branches first |
6. Regulatory & Safety Compliance
- Electrical Safety: Corded trimmers must comply with UL/CE standards; never modify the power cord or use adapters.
- Noise Regulations: In residential areas, avoid trimming before 8 AM or after 8 PM to respect noise ordinances.
- Warranty Preservation: Always follow the manufacturer’s maintenance guidelines to avoid voiding warranties (e.g., using only approved lubricants).
Final Professional Insights
The electric hedge trimmer is a versatile tool that combines power and precision when used correctly. By prioritizing safety, planning your cuts, and maintaining your equipment, you’ll achieve hedges that are not only visually stunning but also structurally healthy. Remember:
- Start Slow: New users should practice on a small, non-critical section first.
- Respect the Tool: Never use a trimmer for tasks it’s not designed for (e.g., cutting tree branches).
- Stay Informed: Regularly update your knowledge on plant-specific trimming schedules (see our guide: When Is The Best Time To Trim Hedges?).
With these steps, you’ll transform hedge trimming from a chore into a craft—elevating your outdoor space with professional-grade results.